
Nextcloud
Nextcloud is a suite of client-server software for creating and using file hosting services. It can integrate with the Collabora Online and OnlyOffice office suites. It can be hosted in the cloud or on premise and can scale up to millions of users. The Nextcloud add-on enables seamless integration of WordPress form submissions directly to your Nextcloud CSV files, transforming how you manage and analyze form data.
The add-on
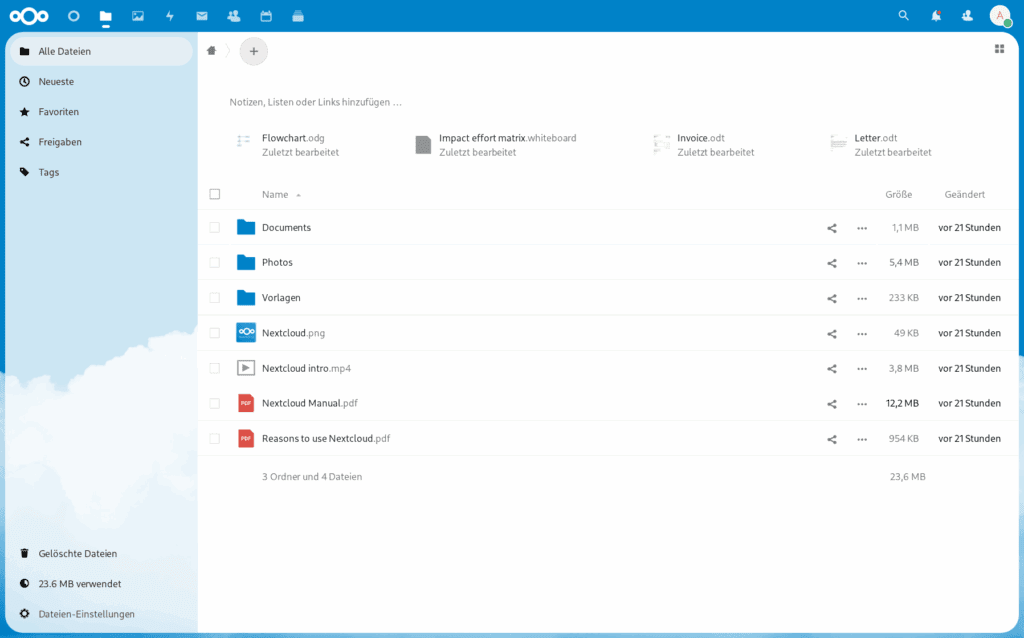
Nextcloud files are stored in conventional directory structures, accessible via WebDAV.
WebDav, or Web Distributed Authoring and Versioning, is a collection of HTTP extensions that provides collaboration capabilities to clients directly on an HTTP web server. With the use of a Basic authentication credential and over the WebDav protocol, Nextcloud allow integrations with third parties.
To talk with this API, the add-on implements a custom bridge class based on the generic REST bridge that requires Basic credentials.
A Nextcloud bridge will store your form submissions as table rows on CSV files. Each field of your forms will be translated to a table column, and every form submission inserted as a new row of the table.
The table structure, will be created on the first form submission, in case it does not exists.
The first row of the table is treated as the column names.
This columns should match the bridge payload schema to allow Forms Bridge to map submission values to columns. If a field does not have a column with the same name, the field will be ignored on the synchronization. Take care to keep your form fields and table columns synchronized once the CSV table has been created.
In addition, the add-on comes with a couple of form templates as bridge examples. While using the add-on, you can use a template as a starter point, but not limited to them: The flexibility of the CSV tables allows you to store any kind of form submissions.
How to use
The first step to use the add-on is to activate it on the add-ons table on the general settings tab.
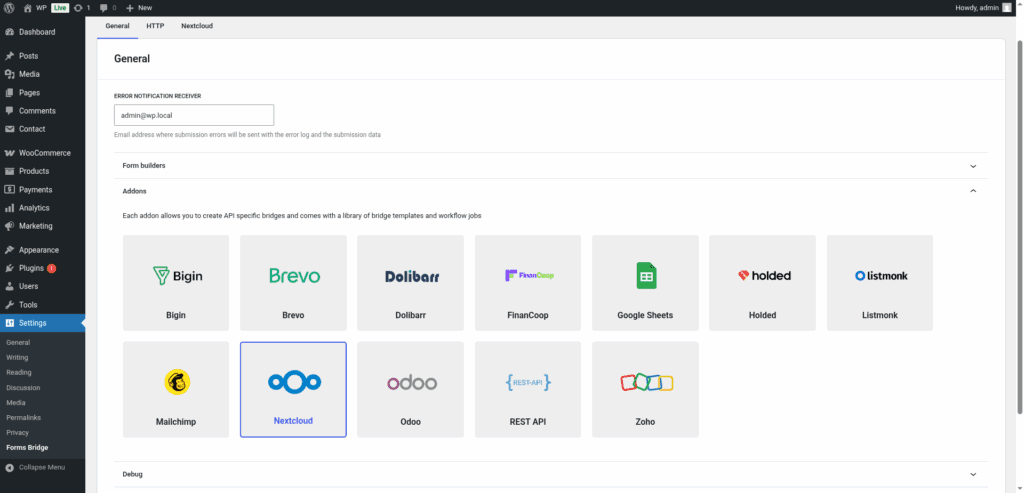
Once activated, a new tab will be visible on the settings page. If it’s your first time, it should looks like this:
The template wizard
The recommended way to set up a new bridge is to use a template as a starter point. The add-on’s template wizard will set up a new Bearer credential, a backend connection and a form, all of them linked to a new bridge.
With this setup ready, you can edit the bridge’s form to fit your requirements or manually add new forms and bridge them with the backend / credential you’ve configured on the previous step.
The template wizard will lead you through four steps:
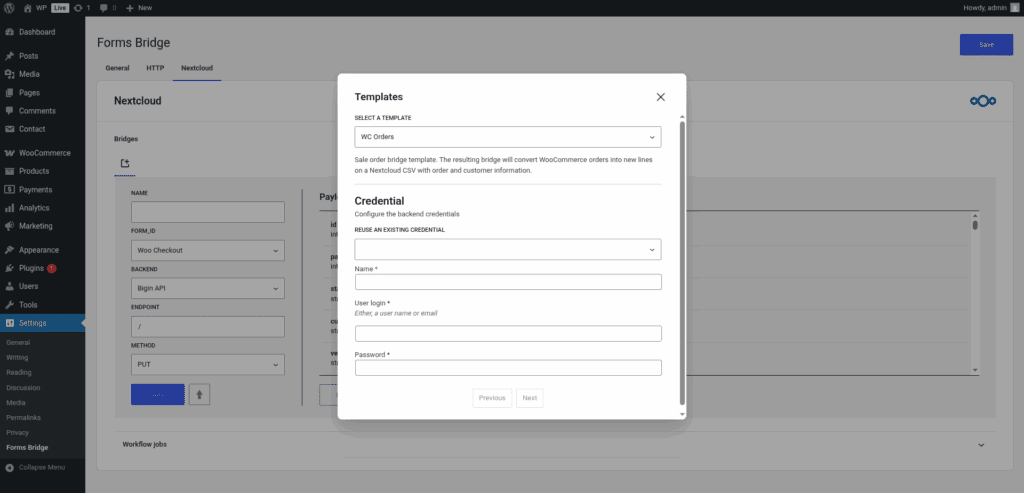
1. Credential
On this step, Forms Bridge will register a new Basic credential. To set up this authentication, you only have to indicate a user login as the Client ID, and its password as the Client secret. In addition, the credential requires a unique name to identify it.
For this purpose, you can use your own Nextcloud user or create a dedicated one for the integration, no special user or credentials are required.
If you already have a Basic credential registered, the template wizard allows you to reuse it. If you want to get multiple bridges, the recommended way to proceed is to register a Bearer credential and reuse it on your bridges.
This type of authentication only supports user login as the Client ID value and will fail if you try to use your user email.
2. Backend
The backend step will require you to set a unique name to identify the new connection and the base URL of your Nextcloud instance.
If you already have the Nextcloud registered as a backend, the template wizard allows you to reuse it. If you want to get multiple bridges, the recommended way to proceed is to register the backend once and reuse it on your bridges.
3. Form
In this step you have to choose the title of the form the template are going to create. The add-on will create a new form with a dynamic set of fields based on the table you decide to integrate with.
4. Bridge
On the last step of the wizard, you have to set a unique name for the new bridge, and set the file path where you want Forms Bridge to store your form submissions as a CSV file.
The file path should be an absolute path starting from your Nextcloud user’s root directory.
After that, click on submit and Forms Bridge will generate the credential, backend, form and bridge setting. It only remains to publish the new form on a public page and wait for a new form submission!
Manual set up
With templates, you can save a lot of time while configuring your bridges, but you can achieve the same result with a manual set up.
A Nextcloud bridge will require the following components:
1. Credential
As mentioned before, the Nextcloud supports external collaboration over the WebDav protocol. To solve this API authentication requirement, the add-on requires you to register a Basic type of credential with a user login and password.
Once you have the user login and password, you have to go to Settings > Forms Bridge > HTTP > Authentication and register a new authentication credential.
Select Basic as the authentication schema and put the user login as the Client ID and password as Client secret fields. In addition, the credential will require a unique name to identify it.
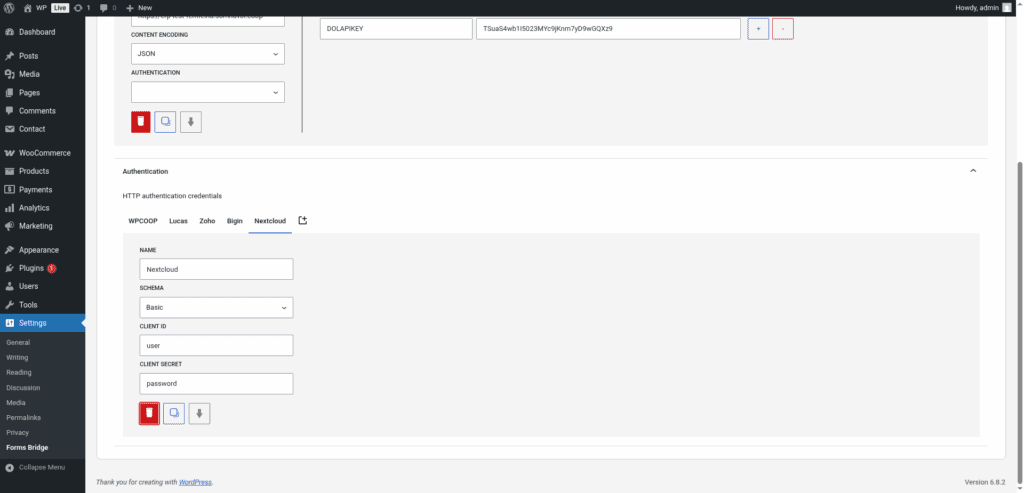
This is an example of a Basic authentication credential. In your case, the client ID and secret should be replaced with your user login credentials.
This type of authentication only supports user login as the Client ID value and will fail if you try to use your user email.
2. Backend
To configure Nextcloud as a backend follow this steps:
- Register a new backend with a unique name (Nextcloud, for example)
- Set the base URL of your Nextcloud instance as the connection URL
- Select the
Custom encodingoption as the Encoding Schema and setapplication/octet-streamas theContent-Typeheader value. - Select the Basic credential you’ve configured on the previous step
3. Form
Get your preferred form builder and create a new form. Once created, you can choose it as the target form to be bridged on the bridges panel of the add-on. If your form fields does not match the desired API module’s layout, you can use bridge’s field mappers to rename them.
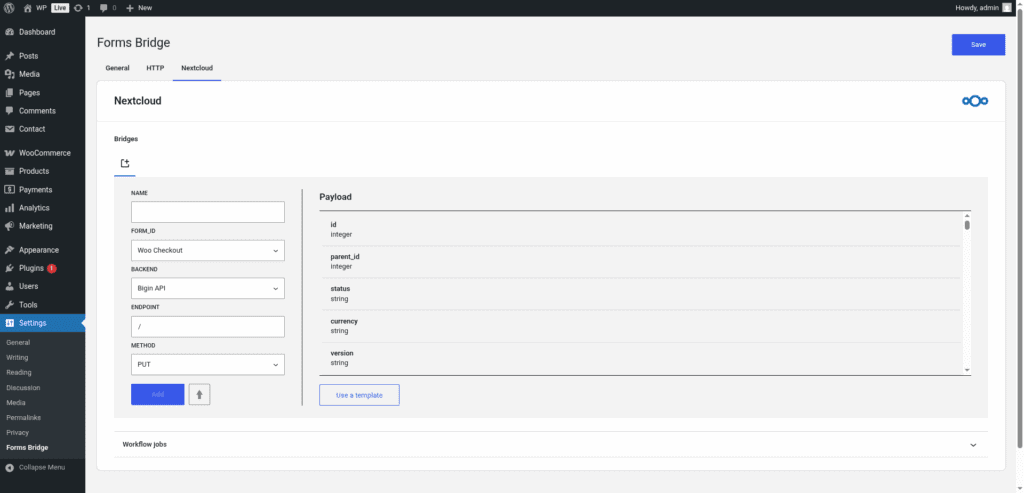
4. Bridge
The add-on’s bridge is an extension of the generic REST bridge. Because of this they looks so similar. Like the REST bridge, the add-on’s bridge requires a unique name, a backend, a form, an endpoint and an HTTP method, but with some particularities, the HTTP method selector is restricted to the PUT method, and the endpoint has to be a file path like /Documents/contacts.csv.
The endpoint file path should be an absolute path starting from your Nextcloud user’s root directory.
Troubleshooting
To troubleshooting your bridges you can use the plugin’s debug console from the General Settings page. Enable the debug mode and submit a sample form response to see what’s going on under the hood. Take a look to our tutorial about how to use the debug console.
Common issues
- Authentication failures
- Verify your user credentials
- Confirm the backend URL
- Missing data
- Verify column names
- Check field mapping
Templates
The add-on comes packed with the following templates:
Contacts 🔎
Simple contact form connected to a csvFrom CSV 🔎
Create a bridge and a form based on an existing CSV tableWC Orders 🔎
Sale order bridge template. The resulting bridge will convert WooCommerce orders into new lines on a Nextcloud CSV with order and customer information.
Workflow jobs
The add-on comes packed with the following workflow jobs:
Format date fields 🔎
Gets date, hour and minute fields and merge its values into a date with format Y-m-d H:M:SISO2 country code 🔎
Gets the ISO2 country code from country names and replace its valueISO3 country code 🔎
Gets the ISO3 country code from country names and replace its valueSkip submission 🔎
Skip submission if condition is not truthy
Supported form builders


Add-on tutorials
-
How Nextcloud add-on works
Supporting Nextcloud as a bridge backend is strategically important for us. While we have add-ons for private systems like Google Sheets and Mailchimp, our commitment is to prioritize support for open source solutions like Nextcloud. That’s why we want to explain in more detail how the Nextcloud add-on works.