
Google Calendar
Google Calendar needs no introduction, is the calendar. Google Calendar brings all of your calendars together in one place, so you can manage work, personal life, and everything in between.
The Google Calendar add-on allows you to streamline appointment scheduling with WordPress forms, integrating your public web forms directly to your Google Calendars.
The add-on
The Google Calendar API is a RESTful interface that lets you read and modify calendars data. This API use the OAuth 2.0 protocol for authentication and authorization. To talk with this API the add-on implements a custom bridge class based on the generic REST bridge that requires OAuth credentials.
A Google Calendar bridge will convert your form submissions into events in you Google Calendars.
In order to create an event, the form should include a date and time fields. You can use the add-on templates to get a compliant form.
In addition, the add-on comes with a couple of form templates as bridge examples. While using the add-on, you can use a template as a starter point, but not limited to them: The flexibility of the spreadsheets tables allows you to store any kind of form submissions.
How to use
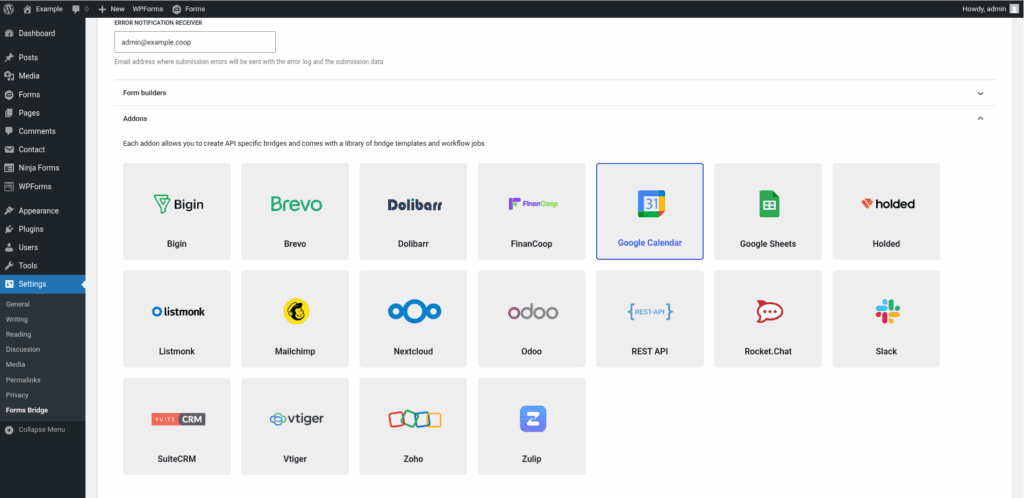
The first step to use the add-on is to activate it on the add-ons table on the general settings tab.
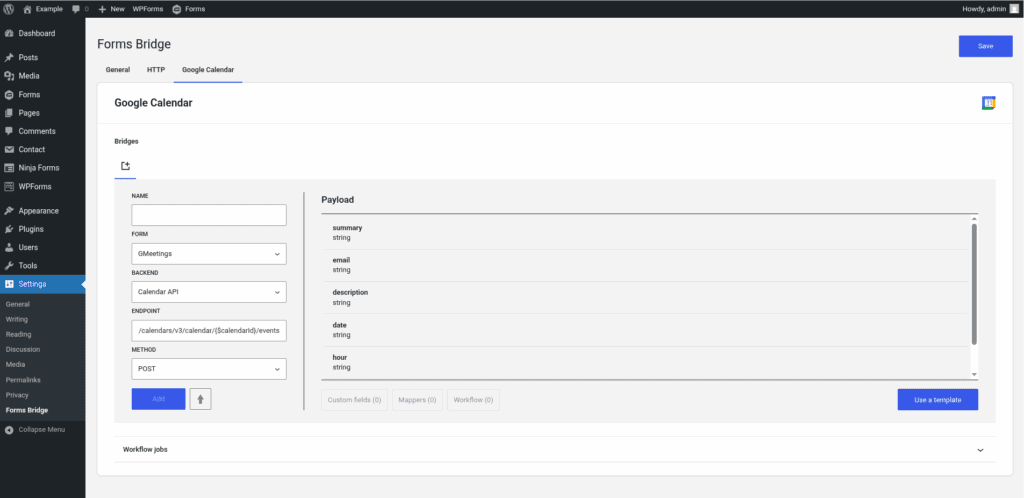
Once activated, a new tab named Google Calendar will be visible on the settings page. If it’s your first time, it should looks like this:
The template wizard
The recommended way to set up a new bridge is to use a template as a starter point. The add-on’s template wizard will set up a new OAuth credential, a backend connection and a form, all of them linked on a new bridge.
With this setup ready, you can edit the bridge’s form to fit your requirements or manually add new forms and bridge them with the backend / credential you’ve configured on the previous step.
The template wizard will lead you through four steps:
1. Credential
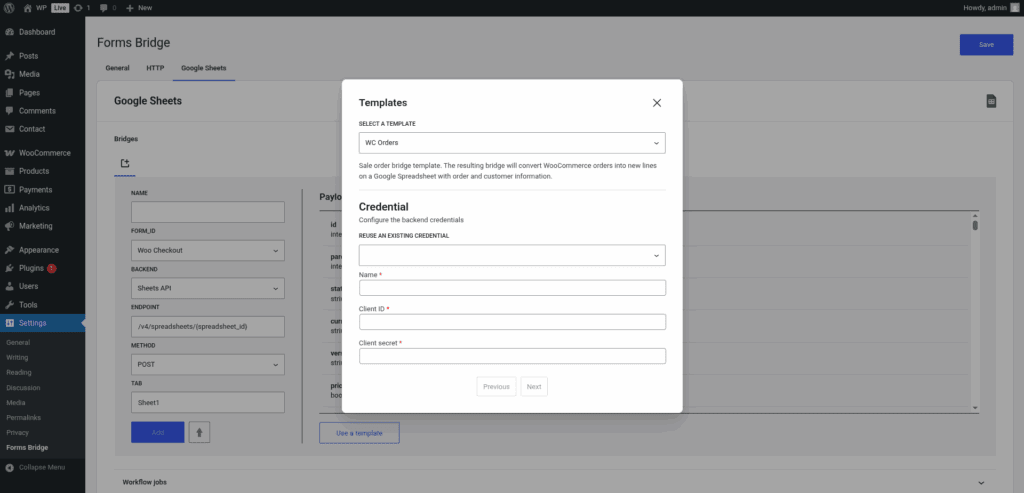
On this step, Forms Bridge will register a new OAuth credential. To set up this authentication, you have to register a new OAUth Client on the Google Cloud Platform and get the Client ID and Client secret. Check out our tutorial about How to set up a new OAuth Client on Google Cloud Console.
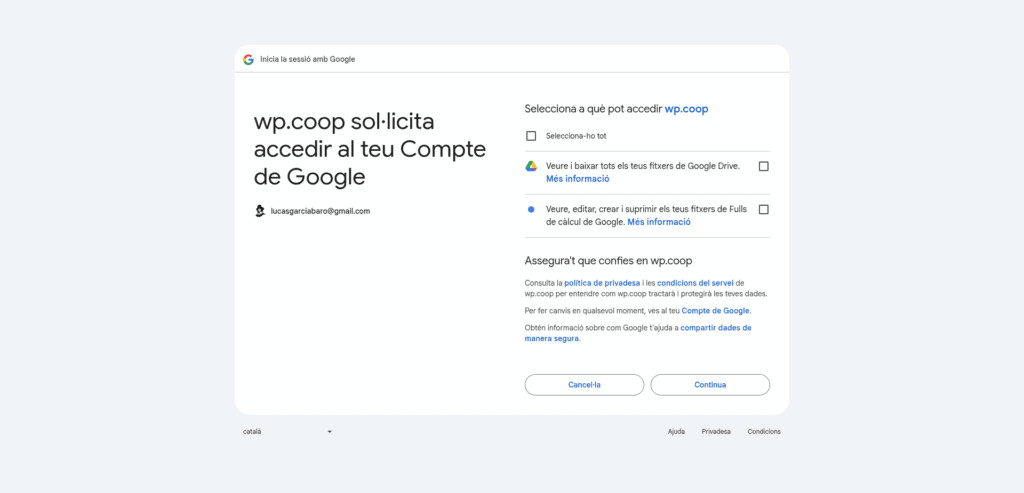
Once you get your form fulfilled with a unique name, the Client ID and the Client secret, the wizard will ask you to authorize the new credential. Click on Authorize button and you will be redirected to the consent screen of your Google Cloud project. Grant access to Forms Bridge to your Drive account and Spreadsheet files and then you will be redirected to the plugin settings page.
If you already have a OAuth credential registered, the template wizard allows you to reuse it. If you want to get multiple Google Sheets bridges, the recommended way to proceed is to register a OAuth credential and reuse it on your bridges.
2. Backend
The backend step only requires a unique name to identify the new backend connection. By default, it proposes Calendar API as its name, but you can rename it at will.
If you already have the Calendar API registered as a backend, the template wizard allows you to reuse it. If you want to get multiple Google Calendar bridges, the recommended way to proceed is to register the backend once and reuse it on your bridges.
3. Form
In this step you have to choose the title of the form the template are going to create. If there is a compatible form, the wizard allows you to reuse the existing form and skip the form creation.
4. Bridge
On the last step of the wizard, you have to set a unique name for the new bridge, select the calendar you want your form to get bridged and the event duration, in hours and minutes. In addition, you can set the event location and if you want google to notify the attendees once the event is created.
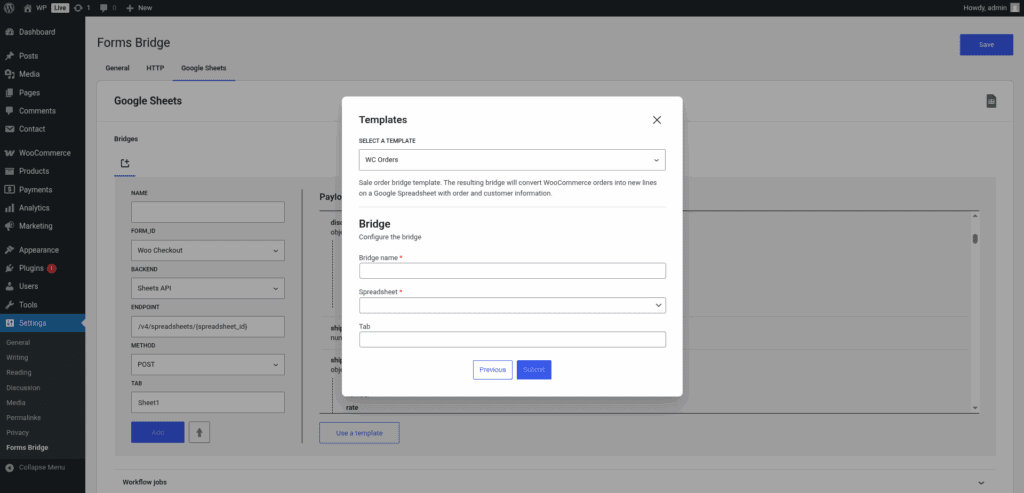
After that, click on submit and Forms Bridge will generate the credential, backend, form and bridge setting. It only remains to publish the new form on a public page and wait for a new form submission!
Manual set up
With templates, you can save a lot of time while configuring your bridges, but you can achieve the same result with a manual set up.
A Google Calendar bridge will require the following components:
1. Credential
As mentioned before, the Calendar API implements the OAuth 2.0 schema to grant access to its resources. To solve this authentication requirement, the add-on requires you to register a OAuth type of credential with the credentials of an Google OAuht Client. Check out our tutorial about How to set up a new OAuth Client on Google Cloud Console.
Once you got the Client ID and Client secret of the Google OAuth client, you have to go to Settings > Forms Bridge > HTTP > Authentication and register a new authentication credential.
Select OAuth as the authentication schema and put the Client ID and Client Secret in the respective fields. For the Authorization URL, you have to set https://accounts.google.com/o/oauth2/v2 and for the Scope https://www.googleapis.com/auth/calendar.readonly https://www.googleapis.com/auth/calendar.events.
Once registered, Forms Bridge will ask you to Authorize the new credential. Click on the button and a new browser’s tab will be opened asking you for the authorization to Forms Bridge to access your account data. Click on Accept and then you will be redirected again to the HTTP tab of the plugin settings page with your credential authorized.
2. Backend
To configure the Calendar API as a backend follow this steps:
- Register a new backend with a unique name (Google API, for example), and a URL with
https://www.googleapis.comas value. - Select
JSONas the Encoding Schema - Add
Acceptas an HTTP header withapplication/jsonas value. - Select a OAuth credential you’ve configured on the previous step.
3. Form
The add-on supports any kind of form. Get your preferred form builder and create a new form. Once created, you can choose it as the target form to be bridged on the bridges panel of the add-on.
4. Bridge
The add-on’s bridge is an extension of the generic REST bridge. Because of this they looks so similar. Like the REST bridge, the add-on’s bridge requires a unique name, a backend, a form, an endpoint and an HTTP method.
The endpoint of a Google Calendar bridge should be like /calendars/v3/calendar/${calendar_id}/events. The calendar ID can be found in your calendar settings page and it corresponds to the email address of your Google account.
Despite the different methods available (GET, POST, PUT, PATCH, DELETE), the most common case is to use the POST as the bridge method to write new events to your calendar. The other available methods are useful for API introspection or to set up workflow automations, but are not designed to be used as the bridge method.
Troubleshooting
To troubleshooting your bridges you can use the plugin’s debug console from the General Settings page. Enable the debug mode and submit a sample form response to see what’s going on under the hood. Take a look to our tutorial about how to use the debug console.
Common issues
- Authentication failures
- Verify OAuth credentials
- Check scope permissions
- Regenerate client secret
- Validate calendar permissions
- If using external audience, check that your project has been verified
- Missing data
- Verify that your form has date and time fields
- Check field mapping
- Consider API quotas and potential costs
Add-on templates
The add-on comes packed with the following template:
Meetings 🔎
Meetings bridge template. The resulting bridge will convert form submission into Google Calendar events.
Workflow jobs
The add-on comes packed with the following workflow jobs:
Format date fields 🔎
Gets date, hour and minute fields and merge its values into a date with format Y-m-d H:M:SISO2 country code 🔎
Gets the ISO2 country code from country names and replace its valueISO3 country code 🔎
Gets the ISO3 country code from country names and replace its valueSkip submission 🔎
Skip submission if condition is not truthy
Supported form builders

Add-on tutorials
-
How to set up a new OAuth Client on Google Cloud Console
Google APIs use the OAuth 2.0 protocol for authentication and authorization. From the multiple flows this OAuth API supports (web server, client-side, installed, and limited-input device applications), Forms Bridge supports the Web Server authentication flow with the OAuth credentials. Either via templates or via manual set up, if you want to bridge your forms with…